How Add and Disable Windows 10 Startup Programs
 Windows 10 startup programs make you get confused because it launches several programs automatically. These default settings have been around since early Windows: Windows XP, Windows Vista, Windows 7, and Windows 8 / 8.1 but are different in the placement.
The benefit is that you can manage the programs that will always run at startup. The most important thing is that you have to learn how to add and disable Windows 10 Startup Programs. Here are two ways you can change which application will automatically run and disable at startup in Windows 10:
How to Add and Disable Startup Programs in Windows 10
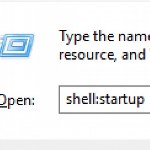
Steps to Add Programs to the Windows 10 Startup Folder
Windows 10 Startup program allows you to add the software you need. It is an effective method, so you don’t need to launch it anytime you turn your PC. The Windows 10 system on your PC will help you to do it automatically.
First, make sure that the software you want to add to the startup is in the option by checking them in the settings. You can follow the next steps if the software is ready. If it is not, you can install the software to the Startup folder.
Create a Shortcut to the Executable File. Use the Windows Search Bar and enter the name of the software if you don’t know where the Executable File is. Right-click the program and choose the Open File Location. Find out the file and right-click on it. Choose the Send To and Desktop (create shortcut). This process makes you see a new shortcut on the desktop.
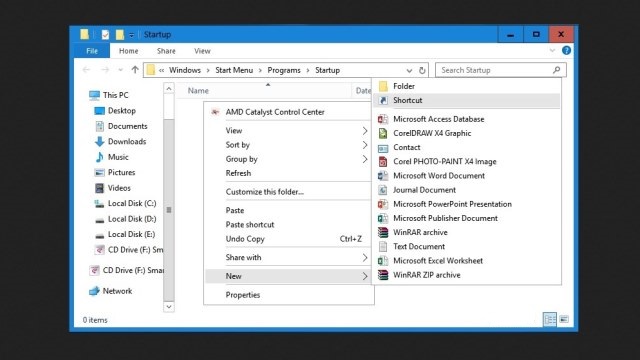
The next thing you have to do is copy that shortcut to the startup folder by using copy and paste or drag and drop methods. Restart your PC and this device will launch the software that you add to the startup folder automatically.

Steps to Disable Programs to the Windows 10 Startup Folder
Windows add several programs to the Startup folder as a default. That’s why these programs will always run once you turn on the PC, although you don’t need them.
You would better disable the programs on the Startup folder that you don’t need. You can change the unused programs with the programs you need by adding them to the Startup folder. You only have to delete the shortcuts from the startup folder by using the Task Manager.
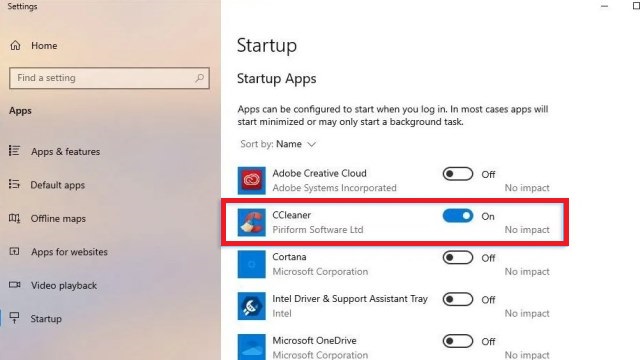
Open the Task Manager menu by holding down the Ctrl and Shift. Then press the Esc button. Choose the Startup tab. You will see the programs on the startup programs and its publisher information, status, and role on the system startup.

Remove the programs you want to disable from the Startup folder by right-clicking the programs in the Task Manager. Check the status and make sure that it is disabled. If it is not, you can change the status into disable mode. That’s it! The programs will stop running anytime you turn on the PC.